Repairing a Leaky Faucet: Step-by-Step Instructions
Addressing a leaky faucet is a common household task that many consider tackling independently. While the prospect of repairing plumbing fixtures can seem daunting, understanding the underlying mechanisms and following a structured approach can make the process more manageable. This guide provides a comprehensive overview of the steps involved in repairing a typical leaky faucet, from initial preparation to the final testing. The instructions are designed for a general audience and assume a basic familiarity with household tools. We will focus on the methodology and the various components involved, enabling you to approach the task with clarity and confidence.
Before beginning any repair work, it is essential to recognize that faucets come in different designs, each with its own set of components and potential issues. The most common types include compression, ball, cartridge, and ceramic disc faucets. Each type has distinct internal parts and failure modes, which influence the repair process. The following sections will outline the general steps, but you may need to adapt them based on your specific faucet model. Safety should always be a priority, and the necessary precautions will be highlighted throughout. By the end of this article, you will have a clear roadmap to follow, allowing you to proceed with the repair at your own pace.
Identifying the Faucet Type and Gathering the Right Tools
The first step in any faucet repair is to correctly identify the type of faucet you have, as this determines the tools and replacement parts you will need. Faucets can be broadly categorized into four types: compression, which uses rubber washers; ball, which features a rotating ball mechanism; cartridge, which employs a replaceable cartridge; and ceramic disc, which uses ceramic plates. Each type has distinct symptoms. For instance, a compression faucet often drips from the spout, while a ball-type faucet may leak from the handle. To identify your faucet, look for the number of handles (single or double) and the movement required to operate them. A visual inspection of the brand name or model number can also provide clues, and many manufacturers offer online resources or diagrams.
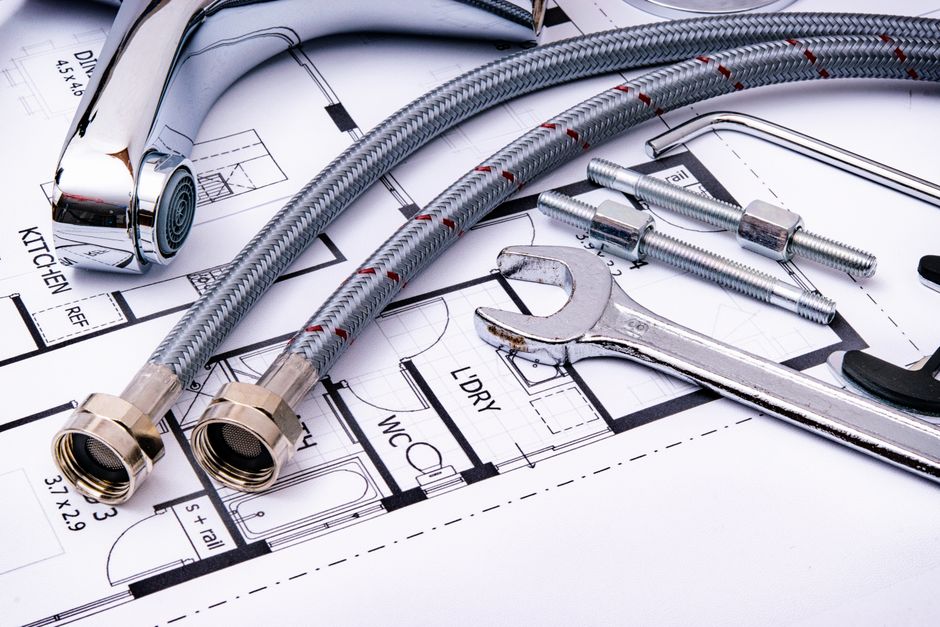
Once you have identified the faucet type, you can assemble the necessary tools. A typical faucet repair kit includes an adjustable wrench, screwdrivers (both flathead and Phillips), pliers, and a basin wrench for hard-to-reach nuts. You may also need a hex key (Allen wrench) for certain handle screws, and a seat wrench for removing valve seats in some compression faucets. Replacement parts such as O-rings, washers, cartridges, or ceramic discs should be purchased after confirming the model. It is advisable to have a small container or bucket to catch any residual water, along with plumber’s tape and a cloth for cleaning. Having the correct tools on hand will streamline the process and minimise potential damage.
Preparing the Workspace and Ensuring Safety
Before beginning any disassembly, it is crucial to prepare the workspace safely. Start by turning off the water supply to the faucet. In most homes, there are shut-off valves located under the sink; if your faucet lacks individual valves, you will need to turn off the main water supply to the house. After closing the valves, open the faucet fully to release any remaining water pressure and drain the lines. This step is essential to prevent water spillage during the repair. Additionally, place a bucket or towel under the faucet to catch any drips that may occur.
Safety extends beyond water control. When working under the sink, ensure adequate lighting and consider using a headlamp or work light to see clearly. If you are using any chemical cleaners or lubricants, ventilate the area and wear gloves if necessary. It is also wise to keep screws and small parts organised in a tray or magnetic dish to avoid losing them. Taking these precautions not only makes the repair smoother but also reduces the risk of accidents or damage to the plumbing system.
Disassembling the Faucet and Inspecting Components
With the water supply off and the workspace ready, you can begin disassembling the faucet. The procedure varies by type, but generally involves removing the handle(s), the decorative cap or cover, and the internal mechanism. For a single-handle cartridge faucet, you will typically start by prying off the handle cap to expose a screw, which you can remove with a screwdriver or hex key. Once the handle is removed, you may need to unscrew a retaining nut or clip to access the cartridge. For a compression faucet, you will likely see a packing nut that holds the valve stem assembly in place. Use an adjustable wrench to carefully loosen these parts, being cautious not to over-torque them.
After disassembly, inspect all components for signs of wear or damage. Look for cracks, corrosion, mineral buildup, or deformed seals. Pay particular attention to O-rings, washers, and seals, as these are common culprits for leaks. If you notice any damage, you will need to replace the affected parts. It is often recommended to replace all rubber components at once, as they tend to wear at similar rates. In cartridge faucets, a faulty cartridge may need complete replacement if it is cracked or worn. For ceramic disc models, check the ceramic plates for chips or cracks; if damaged, the entire cartridge may need to be replaced. Take note of the orientation of components as you remove them, and consider taking photographs to aid reassembly.
Replacing Worn Parts and Reassembling the Faucet
Once you have identified the faulty parts, the next step is to replace them with new components. For compression faucets, remove the old washer and O-ring from the valve stem and install the new ones, ensuring they are seated correctly. Apply a thin layer of plumber’s grease to the new seals to facilitate a proper fit, but avoid over-lubricating. For cartridge faucets, insert the new cartridge in the same orientation as the old one, and secure it with the retaining clip or nut. If the faucet uses a ball mechanism, replace the ball and the springs and seals within the assembly. Ceramic disc cartridges are typically replaced as a unit; simply remove the old cartridge and insert the new one, making sure it aligns correctly.
After replacing the parts, it is time to reassemble the faucet in the reverse order of disassembly. Tighten all nuts and screws securely, but avoid over-tightening as this can damage the components or cause misalignment. Reattach the handle(s) and any decorative caps. At this stage, it is wise to turn on the water supply slowly and check for leaks while the faucet is closed. Open the faucet gradually and ensure the water flows smoothly without dripping. If you notice any leaks around the handle or spout, you may need to adjust the tightening or check that the seals are properly positioned. It is not uncommon to require minor adjustments after the initial test.
Testing the Repaired Faucet and Performing Routine Maintenance
The final phase of the repair involves thorough testing to ensure the leak has been resolved. Turn the water supply back on completely and open the faucet fully to flush out any remaining debris or air. Then close it and observe the spout for any drips over several minutes. Also, check the base and handle connections for moisture. If the faucet still leaks, it may indicate that a different component is faulty or that the installation requires further adjustment. In some cases, the leak may originate from the valve seat itself, which could need resurfacing or replacement. This typically requires a seat wrench and specialised knowledge.
To prolong the life of your faucet and reduce the likelihood of future issues, routine maintenance is beneficial. Periodically inspect the faucet for signs of wear, such as mineral buildup around the aerator. Cleaning the aerator regularly can prevent clogging and maintain water flow. Additionally, avoid applying excessive force to the handles, as this can accelerate wear on the internal seals. If you live in an area with hard water, consider installing a water softener or using descaling agents to minimise limescale accumulation. These practices can help maintain the faucet’s performance over time, though they do not guarantee that issues will not arise. Should you encounter persistent problems, consulting a professional plumber is always a viable option, as they can provide expert diagnosis and repair services.